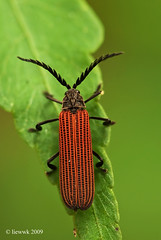
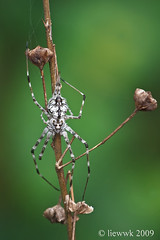
found this spider and think it worth to be share here ...
How do I make this shot ...
1. cut the stem using cutter
2. move it slowly to better BG
3. block the wind by 2 umbrella
4. setup tripod and shoot :D
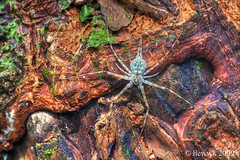
Tree trunk spider
4-5 days later I found this again at another reserve jungle (Hutan Lipur Sg Congkak @Ulu Langat) and it is not moving as previous so decide to have another HDR macro :D
a blog share how, where, what, when my MACRO/Nature related information's.
Friday, June 26, 2009
Wednesday, June 3, 2009
MACRO PP : Focus Stack using Different Pictures
I am doing this ad-hoc (have plenty of topic are in the list). This is similar to another topic discuss in
http://liewwk-macro.blogspot.com/2009/01/how-i-increase-my-macro-picture-dof.html
in two situations as below
1. what if the bug move then how to apply the method apply above
2. a good composition pictures but not get main object focus... how ? delete it ?
so this topic help me to "rescue" above 2 problems
it is simple as step by step below
1. as this shoot when windy day + handheld + keep moving fly so the composition look ok but main object not focus as below
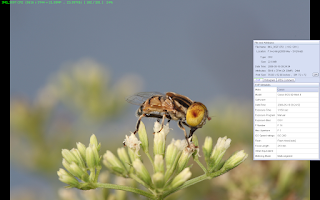
100% Zoom
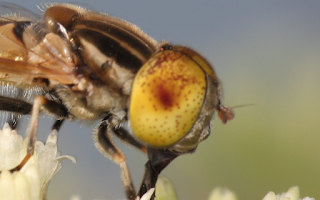
2. I have a similar fly (similar angle is most important) shoot 1-2 weeks ago which got better eye focus but magnification are different
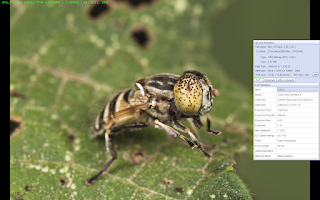
3. open the main composition picture as base
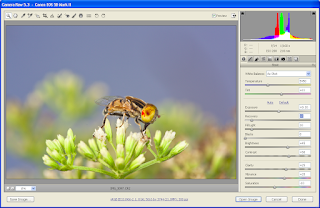
4. open the other "eye" picture and duplicate over the previous layer
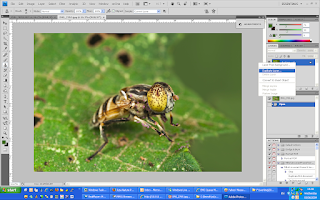
then this layer will over write the main layer
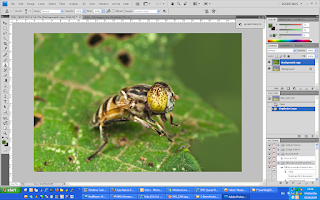
5. set the opacity to 20-30%
then you will get this
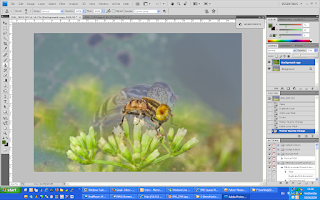
look for "transform control" it different for CS3 & CS4 (this screen shot form CS4 and CS3 can get from "Edit" menu")
6. change the size of the picture if magnification different
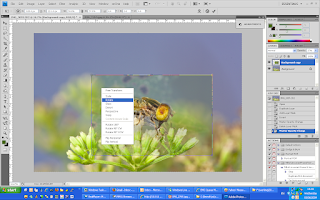
-rotate it if the angle is not correct
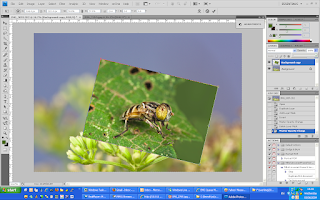
7. adjust back opacity to 100%
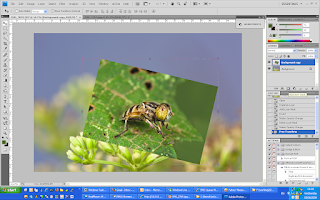
8. add layer mask and make it invert
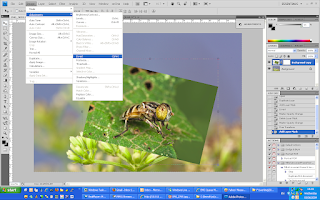
while invert of the layer mask, you will see
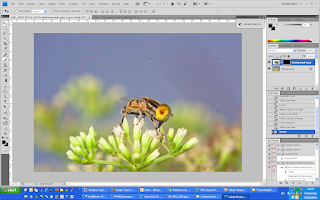
9. select a brush with "white" color by selection
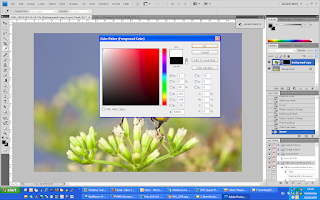
10. zoom in to the eye
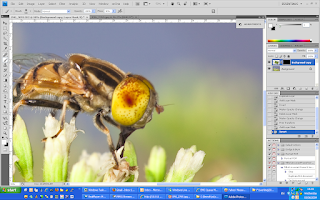
11. use smaller brush
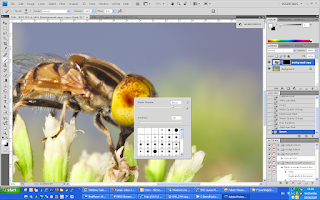
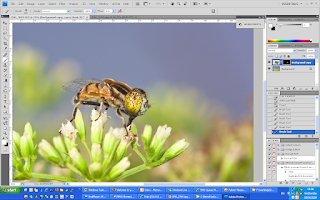
12. brush out the area you interest , for this is head + eye
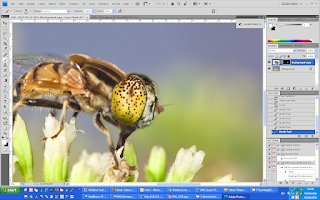
zoom out then you will see this
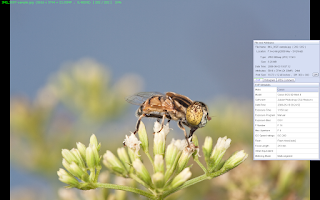
13. save the picture, let see the exif
14. easily verify by zoom 100%
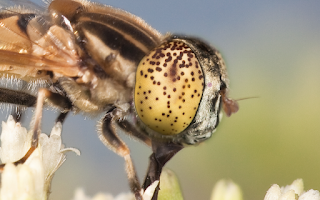
so see the different ?
stack
original
some of you will say WOW, some will say "You Cheating" ....but this is rule of digital so we this is good to know :D
so have fun :D ...
Monday, June 1, 2009
MACRO PP : How I Increase my MACRO picture DOF (Stack Focus CZM)
This is continue another method of mine how to increase DOF but instead manually using CS3 layer mask method but this is using CombineZM(a freeware). it is much easier to use but it may need to combine this software & the previous method discuss @
http://liewwk-macro.blogspot.com/2009/01/how-i-increase-my-macro-picture-dof.html
as usual below is step by step for how I use CZM for additional info or discuss ca refer @ Macro Viewer-flickr
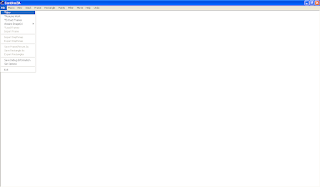
1. open CZM
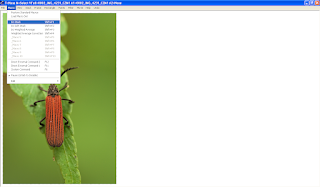
2. create a new stack
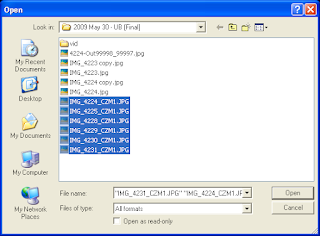
3. choose those files you wish to stack
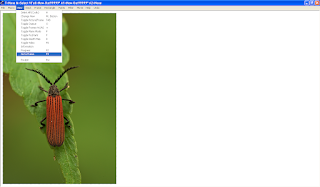
4. simply "do stack by" click as below
5. waiting it finish running batch processes and output should be massive with shadow due to not same angle or possition shots
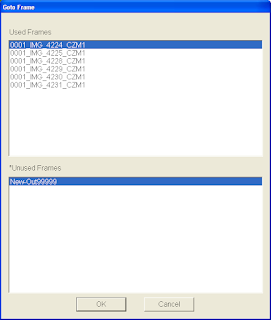
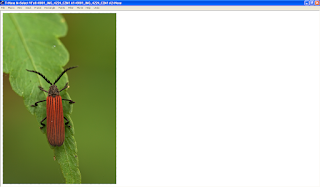
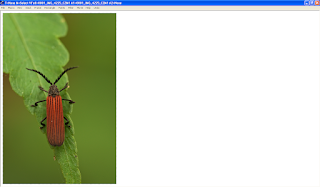
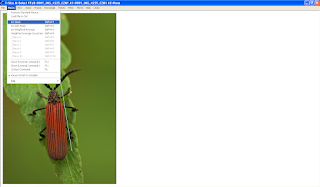
6. do below to reduce the shadow, go to the frame and select the main frame you wish to be main BG
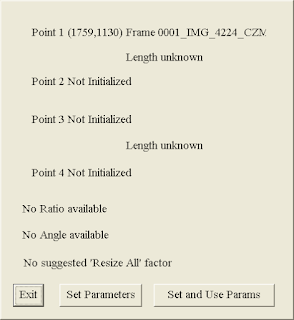
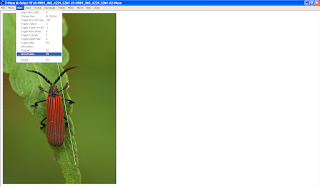
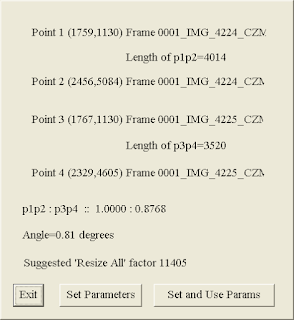
7. choose 2 points that significant appear at all pictures and select by choose key "1" then click "exit"
follow another point as "2" and Exit also on another point
8. repeat this by choose other frames
choose the same point where "1" & "2" but this turn use "3" & "4" and choose
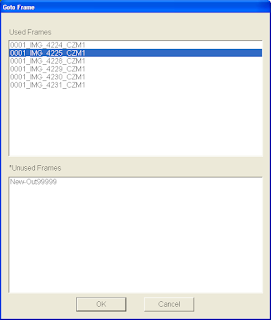
but this time use "Set and Use Params" & click "ok" as window below
9. repeat all step "8" for all other frame
10. and do stack again
11. this time more cleaner picture will be out
12. I will use Photoshop "clone" to clone away the shadow and also some additional manual stack if need which can refer from
http://liewwk-macro.blogspot.com/2009/01/how-i-increase-my-macro-picture-dof.html
unstack version
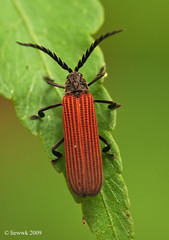
stack version
so enjoy ....
http://liewwk-macro.blogspot.com/2009/01/how-i-increase-my-macro-picture-dof.html
as usual below is step by step for how I use CZM for additional info or discuss ca refer @ Macro Viewer-flickr
1. open CZM
2. create a new stack
3. choose those files you wish to stack
4. simply "do stack by" click as below
5. waiting it finish running batch processes and output should be massive with shadow due to not same angle or possition shots
6. do below to reduce the shadow, go to the frame and select the main frame you wish to be main BG
7. choose 2 points that significant appear at all pictures and select by choose key "1" then click "exit"
follow another point as "2" and Exit also on another point
8. repeat this by choose other frames
choose the same point where "1" & "2" but this turn use "3" & "4" and choose
but this time use "Set and Use Params" & click "ok" as window below
9. repeat all step "8" for all other frame
10. and do stack again
11. this time more cleaner picture will be out
12. I will use Photoshop "clone" to clone away the shadow and also some additional manual stack if need which can refer from
http://liewwk-macro.blogspot.com/2009/01/how-i-increase-my-macro-picture-dof.html
unstack version
stack version
so enjoy ....
Subscribe to:
Posts (Atom)