Showing posts with label Canon 5dm2. Show all posts

Tuesday, December 28, 2010

How I shoot MACRO - Patient to wait

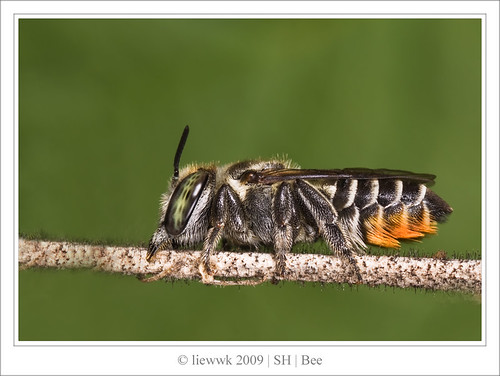
love to do night macro but some of the insect may not active or sleeping in the night and it is good to shoot them while sleeping as in daylight you may not possible to shoot it .. e.g. bee, the bee use to flying around non-stop and not easy to have a capture of it in the day light but at night it will sleeping as

6.2 Bee .... green ...
- it seldom move, or we can move it any location/direction to capture a beautiful sleeping style

but I getting bore after a while looking at this beautiful bee sleeping .. so I decide to mark the location and go back in the early morning (just before the bee wake up) , what I going todo
- wake up early (~6-630am)
- go back to the mark location
- use tripod to aiming or pre-focus to the bee
- wait ................................. it may wake up 1-1.5hr later :D so patient is important here
- the moment it wake up, it will stay still for ~5-30s depend on luck
- do not touch it to make it wake up this will make it flew off within 2-5s after we touch it

then with all the efforts above ...

it's always good to look close 23 - bee

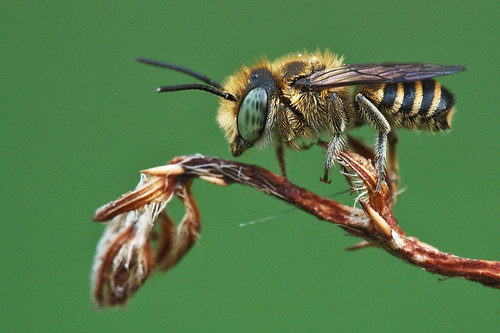
6.2 Bee ... Just woke up !!! ...

or recently
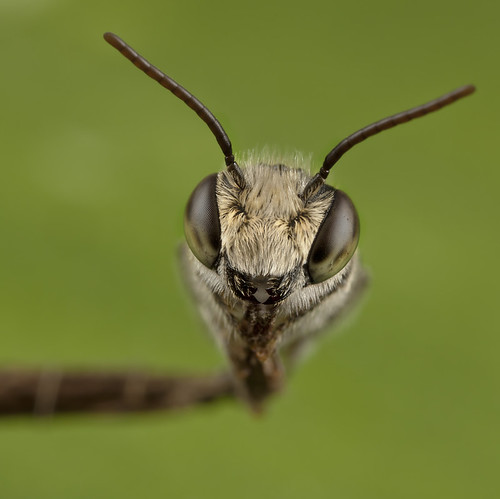
... ... it's always good to look close 46 - bee face ...

Monday, December 6, 2010

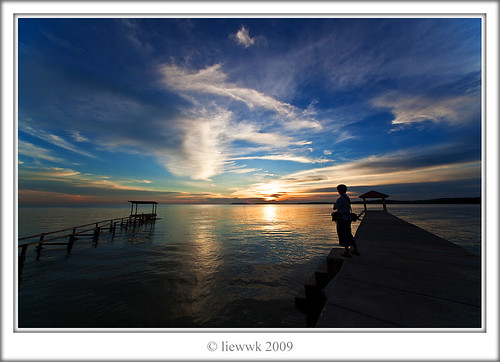
Landscape Spot - Port Dickson 1 [Pantai Pasir Panjang]

it is not my 1st time visit this place .. but last week we make final decision to drop by and spent a wonderful evening with my gang [shunfa, Lio, Xiao Yi & Ken]....

it is locate almost end of famous beach Port Dickson where almost reach Melaka.
direction
- from Kuala Lumpur, South (Melaka, Johor, Singapore) from North south Highway
- look for Port Dickson out
- then look for Port Dickson (highway will be much easier/faster to access this beach) so follow Port Dickson (green board)
- follow the highway, you should reach to a roundabout ... don't worry look for Tanjung Tuan lighthouse direction
- then look for Pantai Pasir Panjang (which is ~12km to the destination)
- this place locate near Ikan Bakar Pantai Pasir Panjang


this place facing sunset so this is a good sunset spot with Tanjung Tuan Light house locate at far (but after dark you still view the light house lihgt)

e.g.
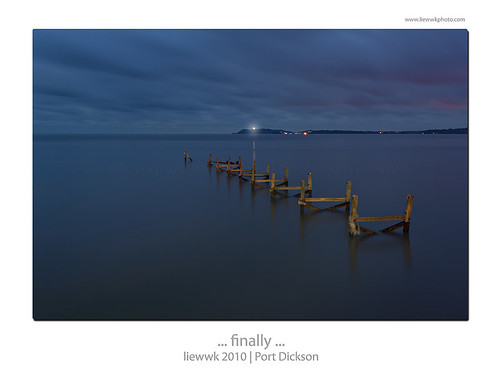
... finally ...

few advice .
1. take note of yours' tripod .. many fisherman walk around .. so may accident "kick" yours' tripod into sea
2. do not look for 2nd seafood store (the center one).. it took hours to serve even not much customer (ouckesssssssss, we are 2nd table and wait ~1.15 hours for our dishes to server)
3. mosquitoes after dark
4. plan with tide level if you want different view of the pier
5. beach is further in the ikan bakar store so if bring family have to plan for this as this spot do not have beach
......
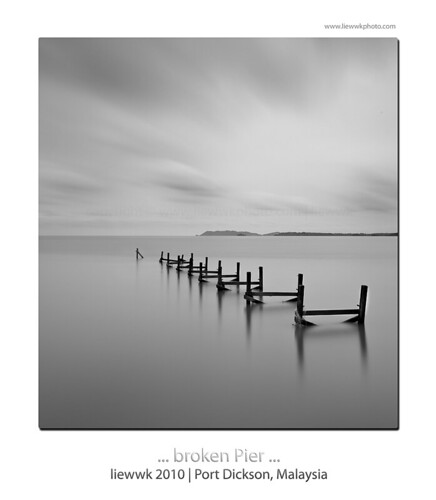
... broken pier ...


an old shot
... it is so beautiful but no way to reach ...

happy shooting .........
Monday, August 30, 2010

other - landscape not always need good weather

last friday, it was a cloudy day and rain in some area too... but I still drive ~40KM to meet up few friends for sunset shooting .... and I had plan for worst, which mean I will shoot nothing or press the shutter ......
but while I reach there, even the tide is high.... the cloud look bad ... no color on the sky but I still trying to look for a spot to get some "no so" sunset feel pictures ......

Just before the sunset, the sun did appear (20-30%) out from the thick clouds ..... and I manage to get some orange color over the dull color look sky ... and with the high tide ... I would say few worthy pictures are capture .... and I keep this with me, "it is depend how we shoot the moment but the moment show us what we should shoot"
thanks ... a busy and tired morning .. just want to share this before I forgot :D


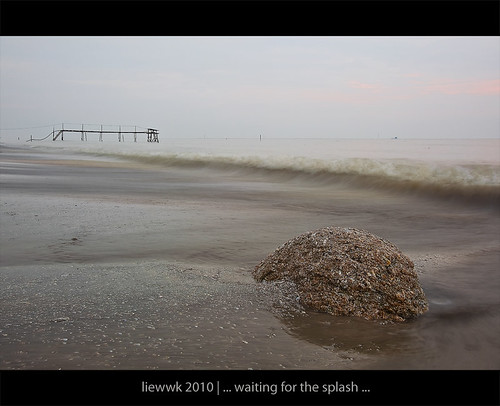
... waiting for the splash ! ...

more pictures from this beautiful place @ Pantai Jeram series

Monday, May 17, 2010

How I shoot MACRO - Results of 2010 May Lighting

am busy these few days with works, family ... just want to share some quick result from the new lighting discuss in May 2010 Lighting
or
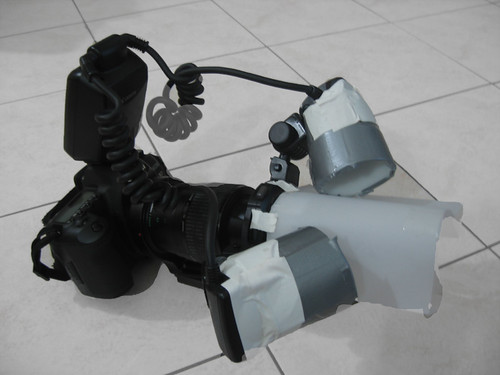
2010 May - Macro New Lighting Setup

the light look amazing , it produce the softness and the natural look (flashless) which I think I will continue to use this minimum another better version is out

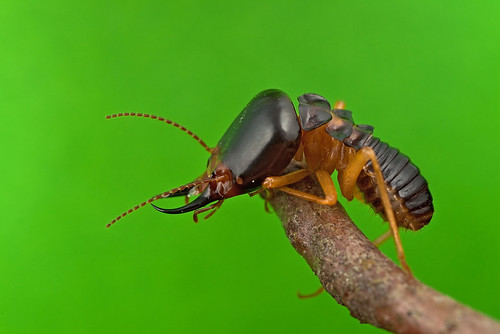
i. this little termite move non-stop and I found it will rest for 2-3 s every very move .. then this is my opportunity to use this reflective insect to test my new lighting
... Termite 白蟻 ...

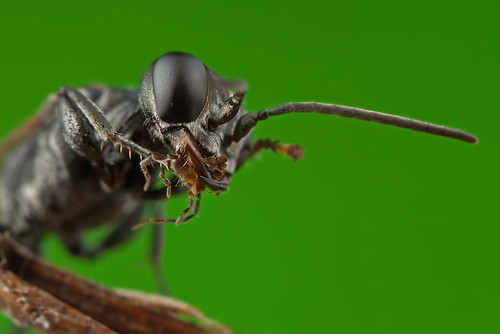
ii. a wasp just woke up
... how I brush my teeth ...

more will be coming ....

Tuesday, April 6, 2010

Review - Canon 5dm2 vs 7d MACRO

I got an unit of Canon 7d for testing last 2 weeks ago but the results were unbelievable so I send back to Canon service center for checking and yesterday they call for collect after do some "minor" calibration .....and today I went out for quick test (my testing only based on on personal standard/interest and may not a good comparative among 2 Canon bodies)

how I do the test
i. ISO100 & F13
ii. max flash sync speed (5dm2 - 1/200 and 7d - 1/250)
iii. I try to shoot very close magnification (but can't get 100% same ....)
- 5dm2 ~3:1
- 7d 2:1
iv. same lighting (full flash) - as share here
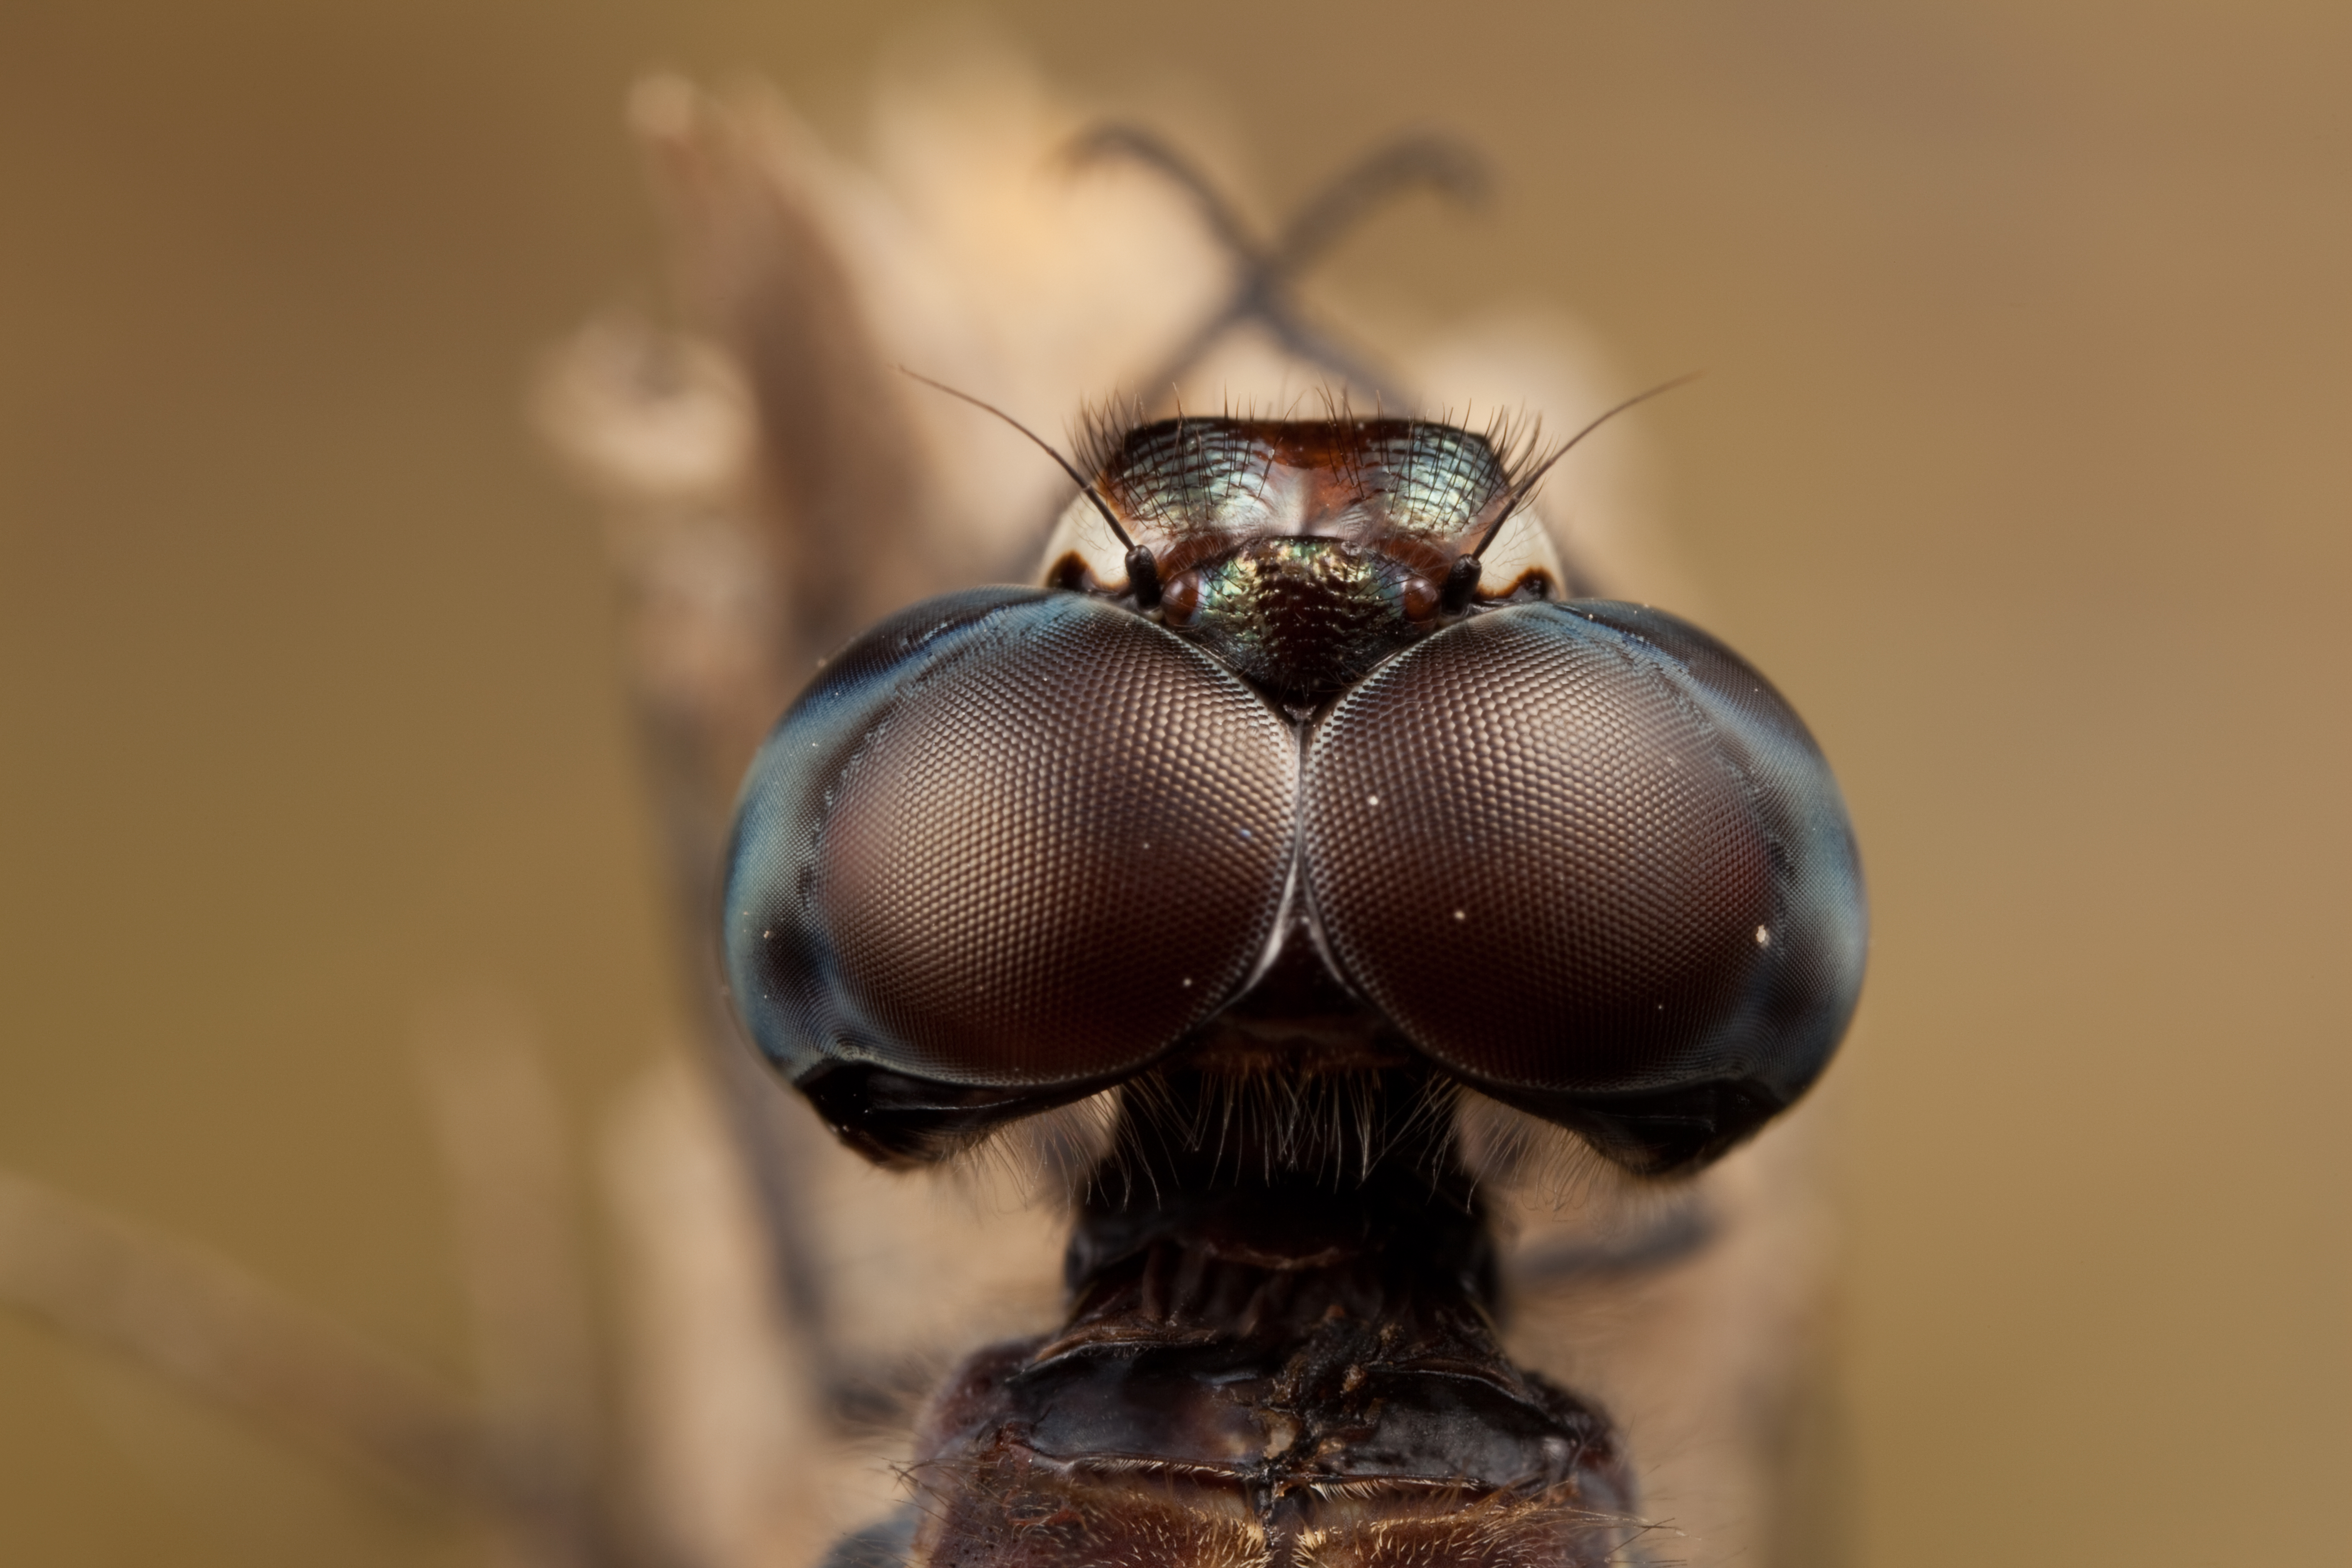
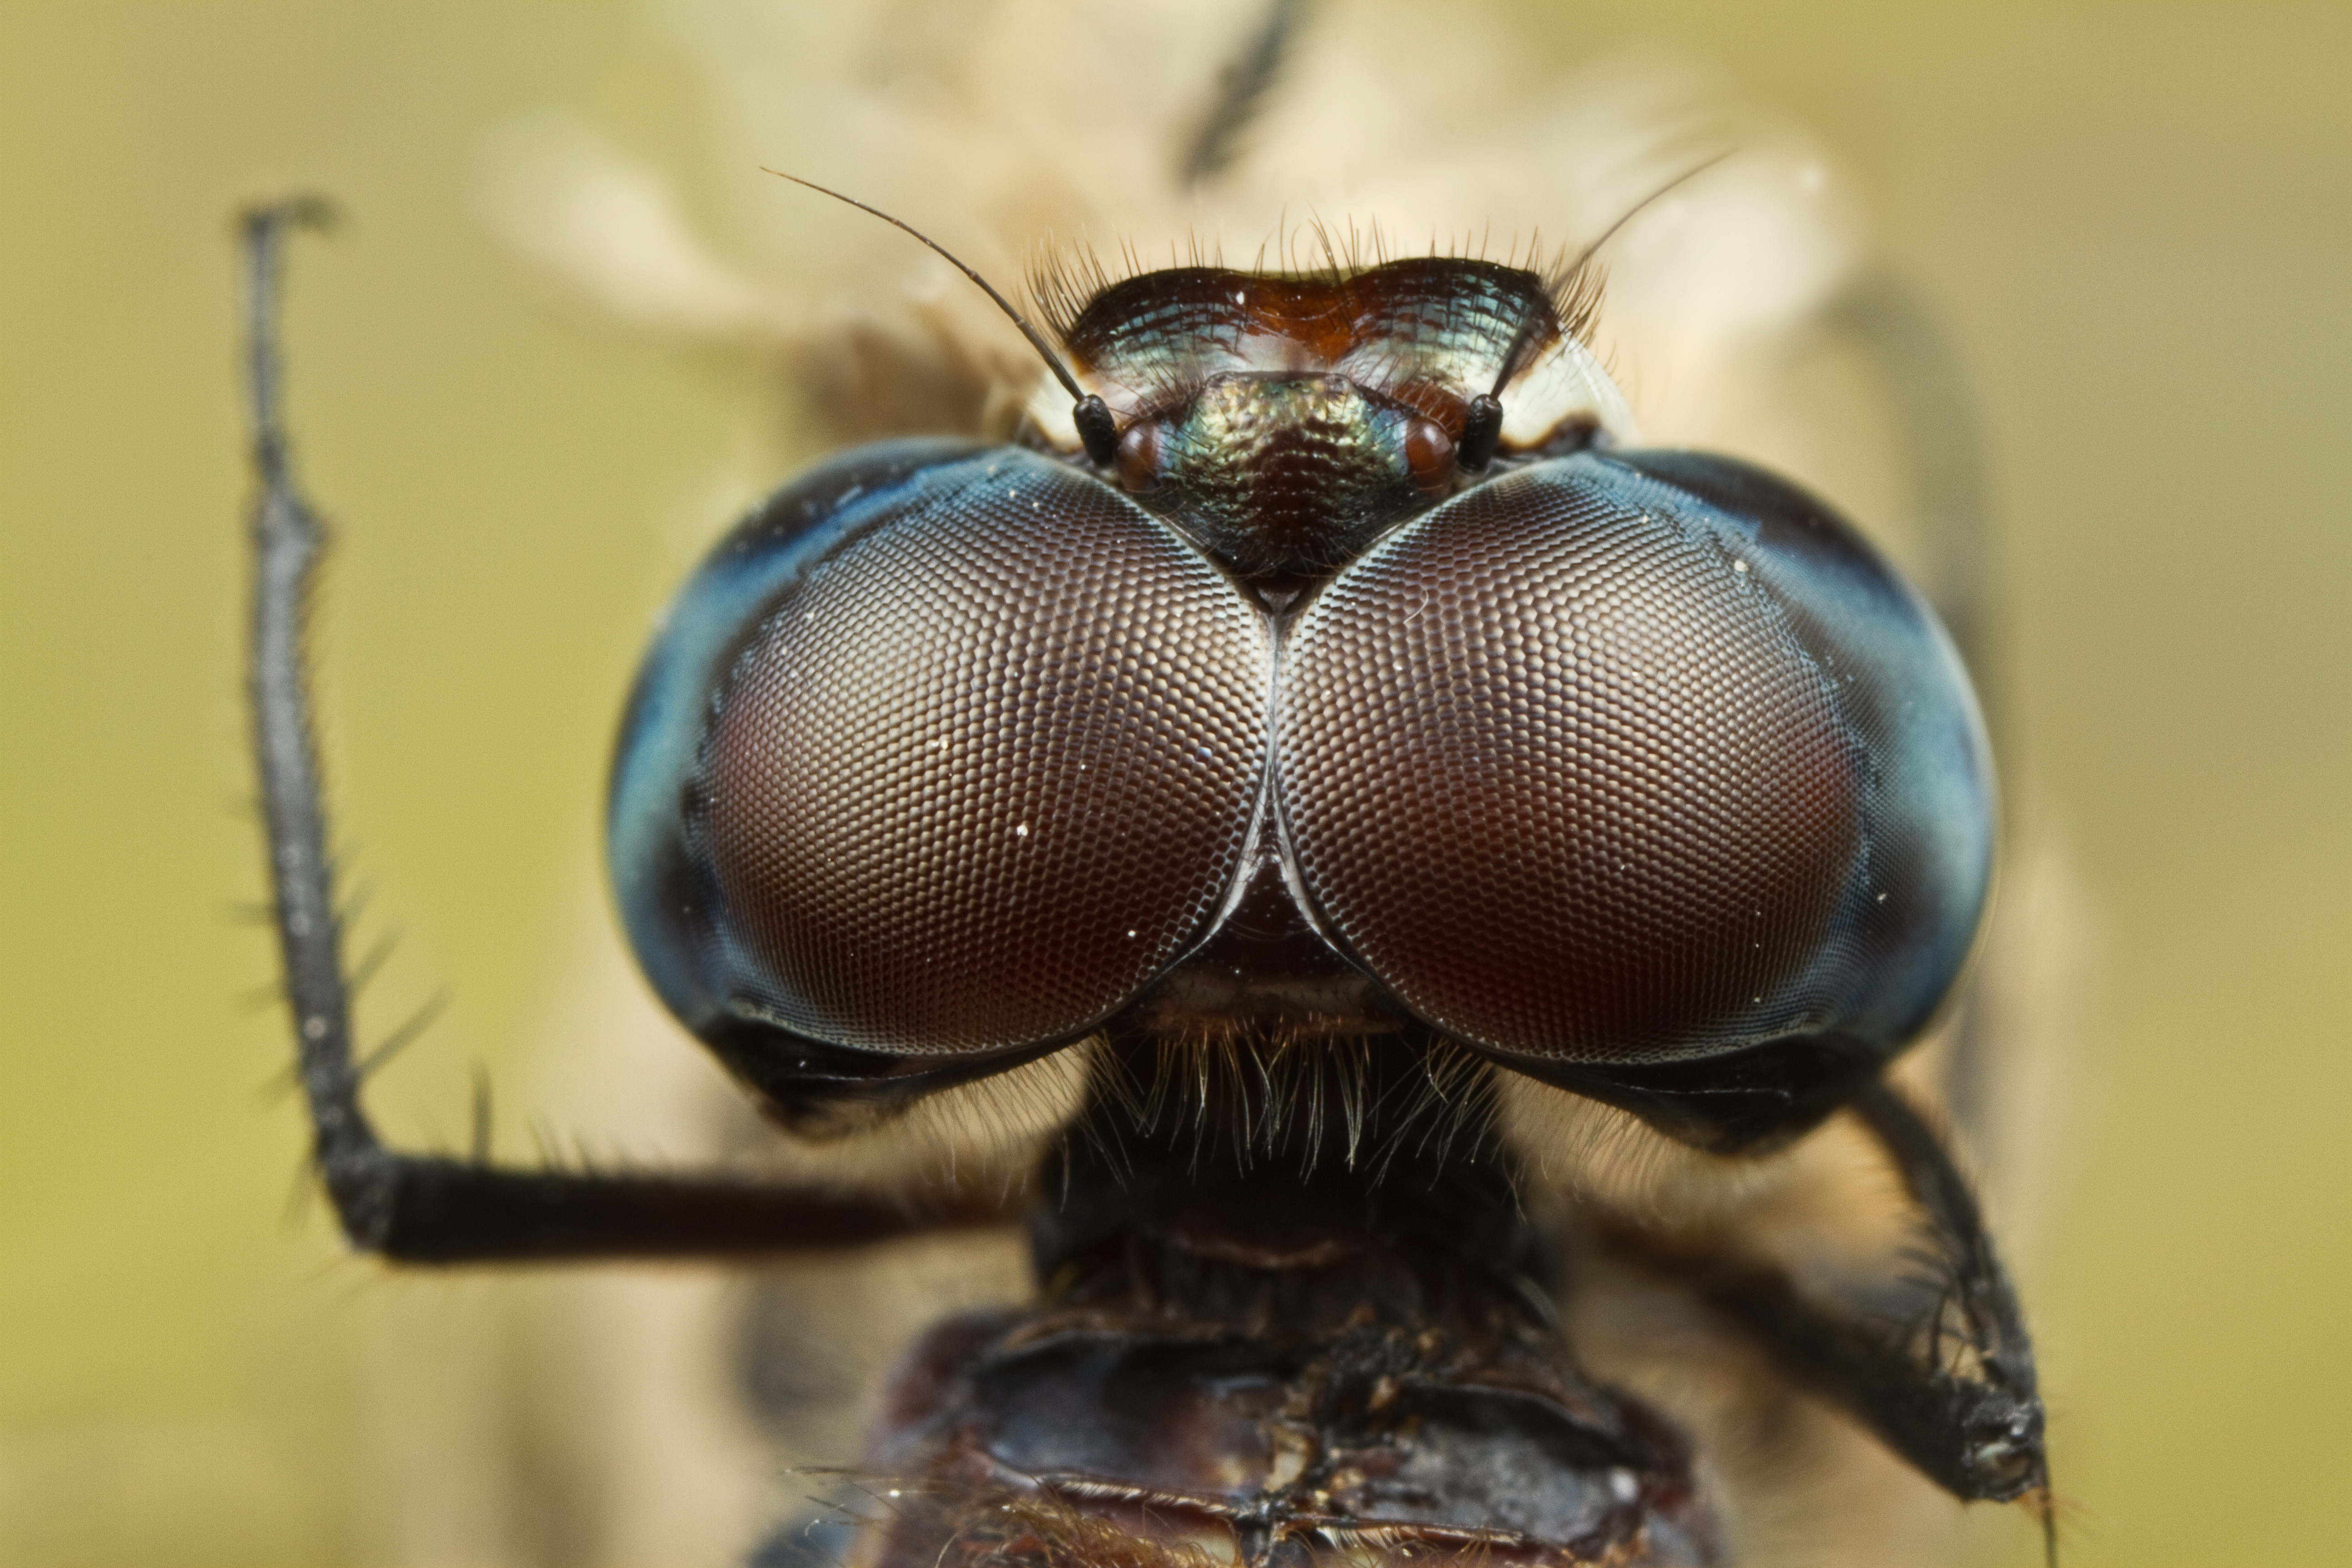
v. all pictures stacked with 3 picture which focus on eye, nose and mouth of the dragonfly
v. AWB
vi. no noise reduction
vii. no sharpening


1. after resize to 1200 @ longer size, we can;t tell much different
Canon 5dm2 - 1200
Canon 5dm2 vs 7D - 1200

7D - 1200
Canon 5dm2 vs 7D - 1200

2. and if you wish to have a look at full size
Canon 5dm2 - full size
http://farm3.static.flickr.com/2688/4496329257_1b112e0eec_o.jpg

Canon 7d - full size
http://farm3.static.flickr.com/2672/4496958894_8f1640c86b_o.jpg

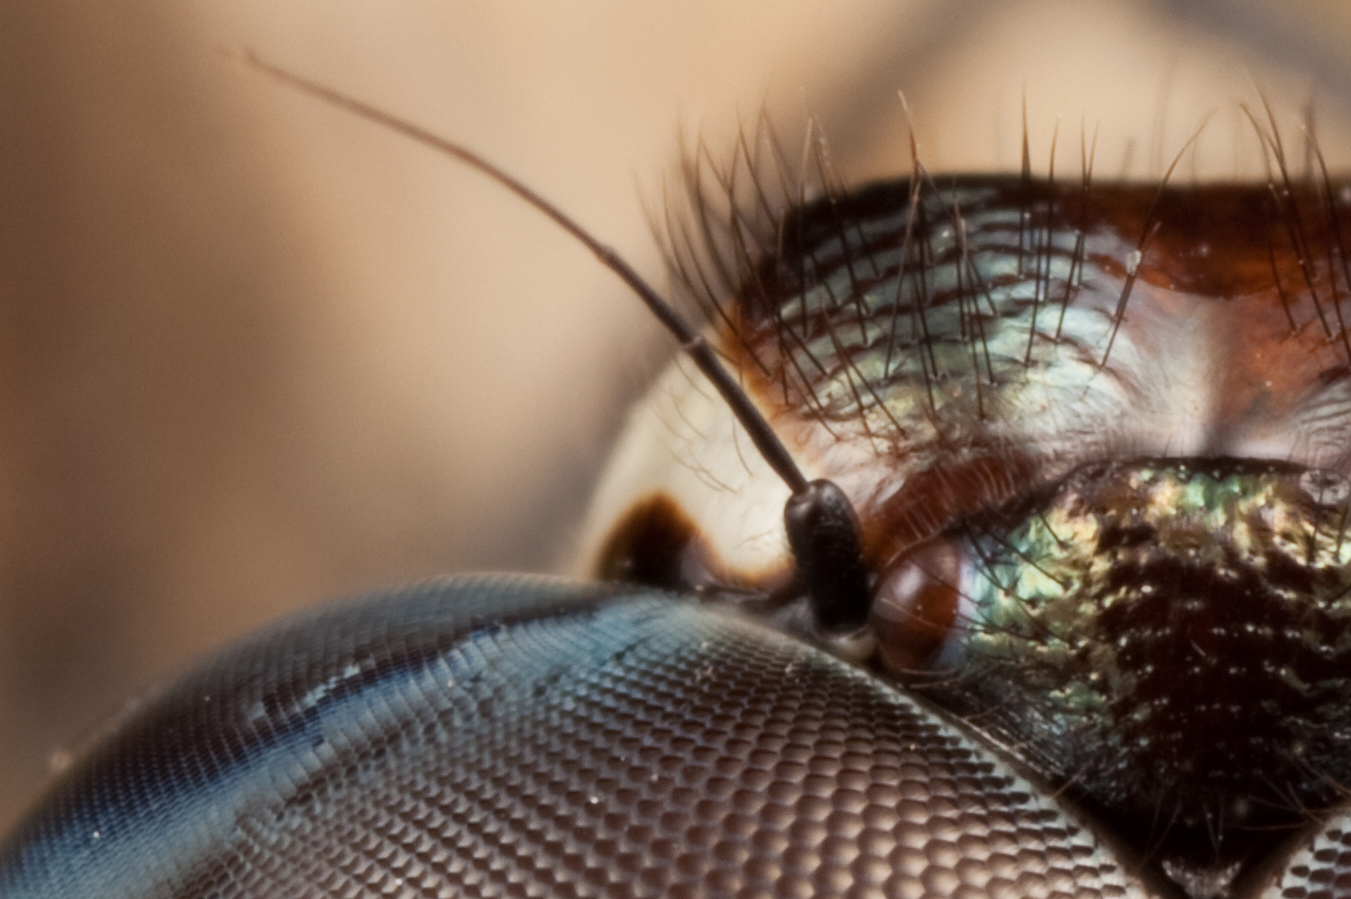
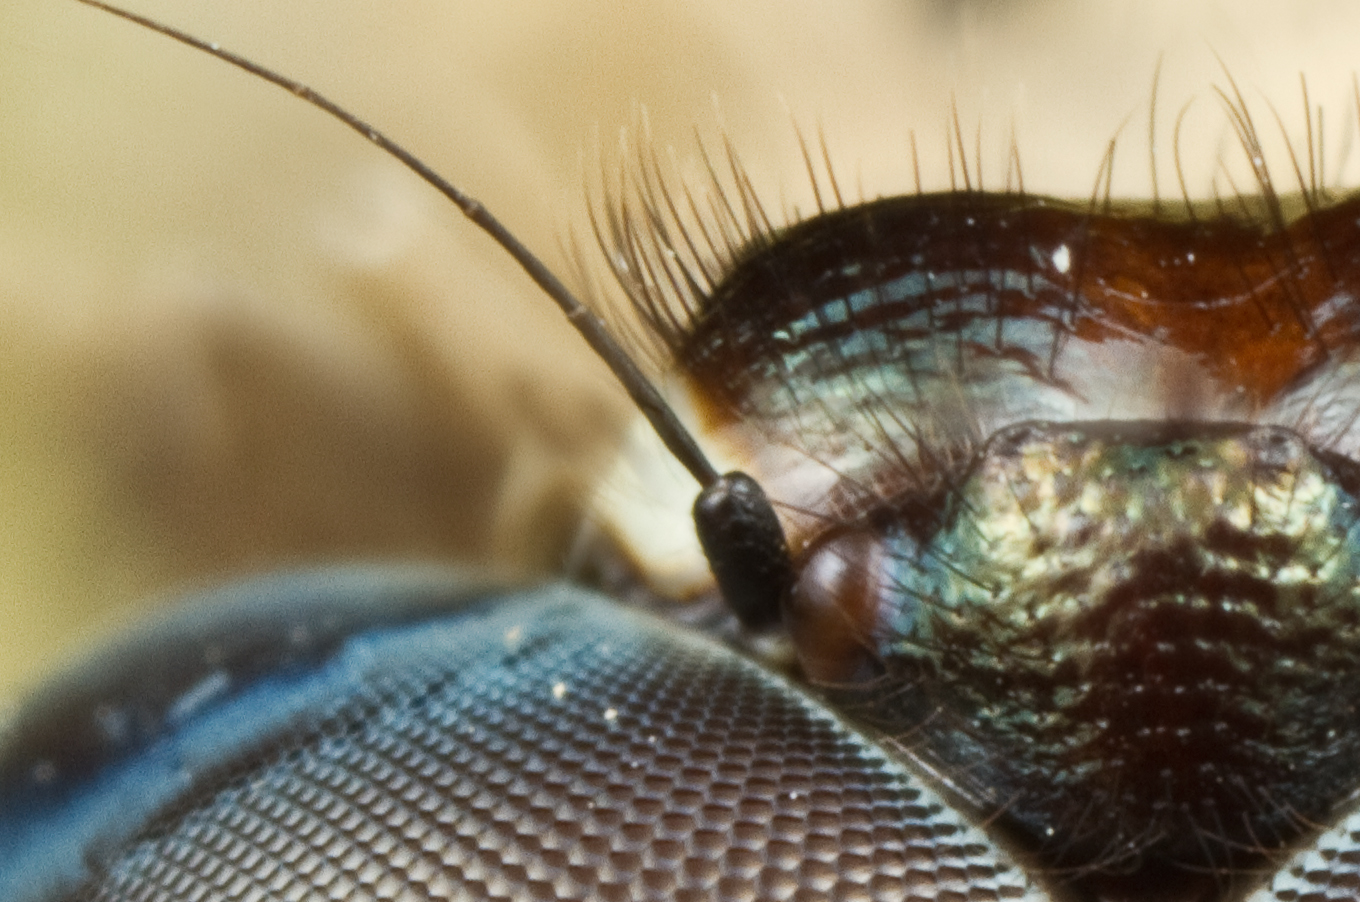
3. a 100% crop
Canon 5dm2
Canon 5dm2 vs 7D - 100% crop

or larger size http://farm5.static.flickr.com/4044/4496967212_babd6190bb_o.jpg

Canon 7d
Canon 5dm2 vs 7D - 100% crop

or larger size
http://farm5.static.flickr.com/4068/4496322417_2f774ce63a_o.jpg

personal view,
i. after calibration, IQ have improve and noise have reduce
ii. overall Canon 7d doing ok and not sure can it be fine tune any further or not
iii. Canon 7d noise still look bad @100% crop even at ISO100
iv. AWB, how could same brand camera have such different at same environment and using same lighting (flash)

I will do another test on landscape soon....

Monday, March 15, 2010

Review - Results of 2010 - MACRO light test plan 1

not much things found today but lucky got similar object while I use old light setup ( puffer - pop-up flash diffuser put in front of mt-24 flash head)

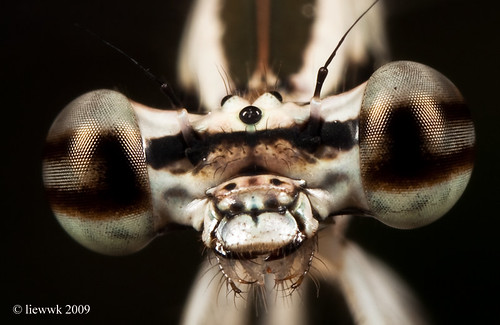
let's see the light reflection on the damselfly

1. old shot with puffer diffusers
7:1 shot - hot spot found on eye with the mt flash head reflection
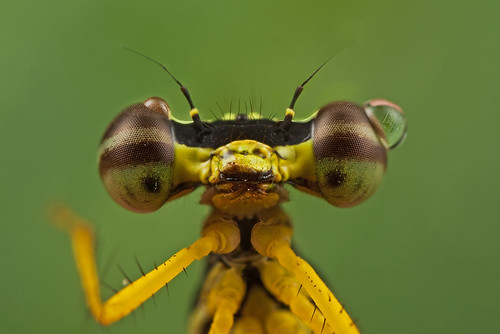
7.1 Damselfly - Copera marginipes ... face ...

should be very close to ~5:1 - think this one I had did some PP on it's eye reflection portion using method clone reflective body share previously
7.1 Damselfly - Copera marginipes ... face ...

2. new plastic cup diffuser which share here

result - no clone reflective , no dodge and burn
- curve increase contrast
- noise ninja
- stacked 3 shots into 1
Hello, this way please ...

think the plastic cup diffuser method did the good job. but as it is little too bulky, big element just in front of my len, so it is not so convenient on shy bug .. or even no so shy type may flew off due to the plastic cup extend out .... am not sure will I continue use this but then definitely a good MACRO lighting setup for mt24.

Tuesday, March 2, 2010

News - 1st try on spherical panorama

for me spherical panorama picture is a art ... and it will be fun to see 360 degree view within single frame .. I not really a fan of it but while I have gear to make one so let have a try ....and for 1st timer let share what I face ...

1. nodal point is important to find out before go on field and sometime don't depend number from www but try to calibrate at home before go on field (some info of Nodal point /Entrance pupil point can look here http://wiki.panotools.org/Entrance_Pupil_Database )

2. try to overlap as much as possible ... (sometime it just can't auto find the crossing points then manual work need to be done)

3. understand your's camera, lock WB and exp else lot of work to adjust different exp and WB

4. try cover moving object in single frame else it can stitch properly and need some clone work

5. try cover strong exp area in single frame, avoid the stitch exp different

6. choose the right software, at 1st I facing problem to merge it trying vary software but after I get PTGui. It work perfect for most of my testing

7. use wider len (or fish eye) .. else need to shoot too many picture to cover 360degree
- 24mm @FF need 24 pictures (I cross 30-40% .. may be too much and if redicue the crossing may be can reduce to 18)

*** I shoot using Canon 5dm2 + 24-105 L @24mm and Canon 5dm2 + 12-24mm @12mm

here you god my 1st try
my 1st try on spherical panorama

also sharing .mov view
small
http://www.liewwkphoto.com/360pano/PantaiKelanang-small/PantaiKelanang-small.html

large (need faster connection)
http://www.liewwkphoto.com/360pano/PantaiKelanang-Large/PantaiKelanang-large.html

leave me comments ... how you feel about spherical panorama ?

Sunday, February 28, 2010

Panorama Series : 1. Golden Moment Bukit Panorama

as promise to myself, this year I will do more landscape and panorama photo shooting. so let me start a Panorama collection series ....

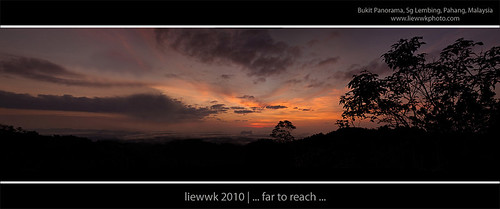
1. Golden Moment from Bukit Panorama
Golden Moment from Bukit Panorama

larger view click http://www.liewwkphoto.com/image-viewer.htm?Fgallery4-4 (2400 longer side)

shooting details
difficulty
1. not easy to control exposure as the light change too fast
2. the clouds, sun moving too fast while Golden moment
3. stitch full size of Canon 5dm2 pictures is not a fun job , it make my i5 750 PC with 8 GB memory run like a turtle
4. after stitch the original JPEG ~110MB in size and not easy to edit and need patient

Gear
Canon 5dm2 + Canon 24105L@50mm + Nodal Ninja 5
Bukit Panorama, Sg Lembing, Pahang, Malaysia
# 5 stitch 1 by using Nodal Ninja Full resolution available 22423 x 6871
# Exposure Time (1 / Shutter Speed) = 32/10 second ===> 3.2 second
# Lens F-Number / F-Stop = 11/1 ===> ƒ/11
# ISO Speed Ratings = 100

more click http://www.flickr.com/photos/liewwk/sets/72157623387374373/

Friday, February 12, 2010

New Found - Flower Mantis (update)

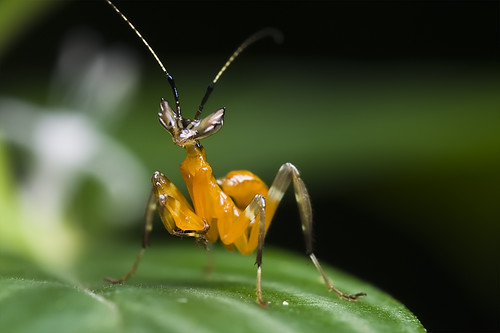
it was a mistake ... I thought of I found a Orchid Mantis but it is not after verification with mantidboy From Flickr (he know alot about mantis) .. this is a

family Hymenopidae
Creobotra sp

even ... not a Orchid Mantis .. but I am still happy with this new found too

a old picture shoot Jul 2008 (
Mantis 3:1

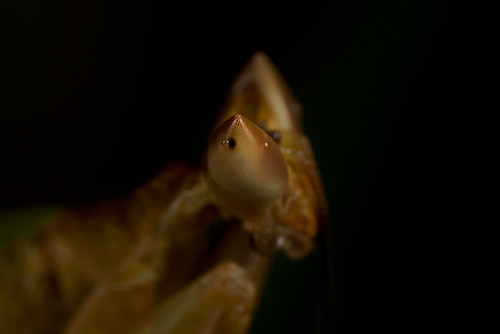
how it look close ... (PP to make it little mystery feel)
Anyone know my name ???


and it was camera shy ....
bit shy ...

and after few shot .. it start willing to look at my camera and I am getting closer and closer

my name is "Orchid Mantis"

(for larger view please visit www.liewwkphoto.com for the macro session or http://www.liewwkphoto.com/gallery2.htm )

Tuesday, February 9, 2010

How I shoot MACRO - MT24 with Difuser 2010plan01

was planning this and test with few similar option before but never got any good result. but then decide to share this even I feel this still having problem with my setup

why am I building a bigger diffuser
1. larger light size
2. softer light
3. my long MACRO len (SIGMA150) need better and larger diffuser (I need something work for both of my MP-E65 & SIGMA150)

so my testing make up of

1. pop up flash diffuser


2. styro foam bowl& Kitchen towel paper


3. final setup


sample output .. (sorry trying to get back the original setup but the beetle flew off)
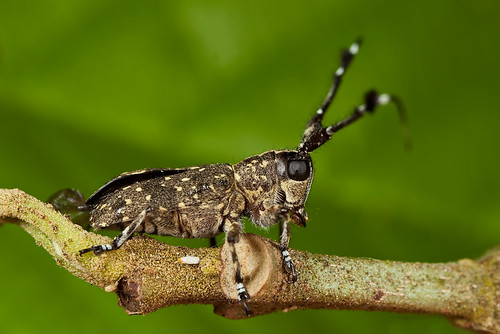
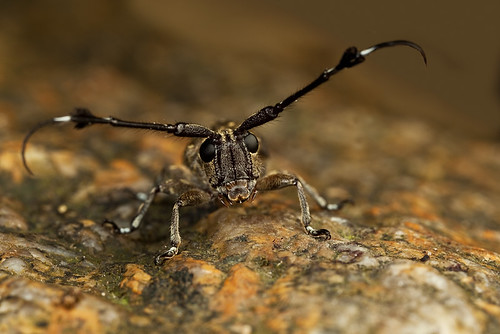
a cute Long-horned Beetle

a cute Long-horned Beetle


(minimum PP done on above pictures)

based on last picture show above (my large diffuser is from right from my len and the small one is on left) overall the light diffuser better than my previous one (I personal feel)
but it create bad shadow after 3:1 which mean I lost 4-5:1 while using my MPE , think this could be over size of my big diffuser ... will try to make it smaller next round

Monday, February 8, 2010

How I shoot MACRO - angle is important

I had share this to most of my MACRO gang, "angle" to shoot the bugs is very important. Angle need to be choose to control
1. better DOF
2. better BG
3. show beauty of the object

and in general I had discuss @previous post How I shoot MACRO - Composition, angle ...

I can't provide too many samples but will keep on to post relevant sample as I got relevant sample pictures ...

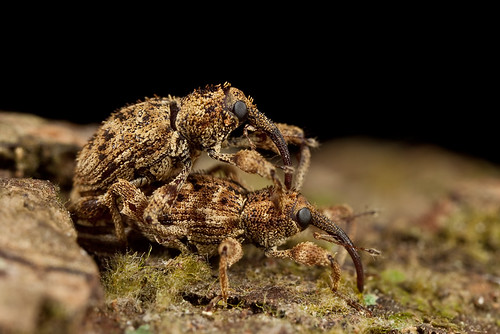
as for last week , I got a chance to see a pair of weevil mating on the tree trunk and I know this will be good for this so I decide to make few shots to show the different effect on BG while using different angle

below is a picture show the situation


and as for the sample of common 90 degree to the object and we are easier to get max DOF but the BG will look like
Weevil in Love -1

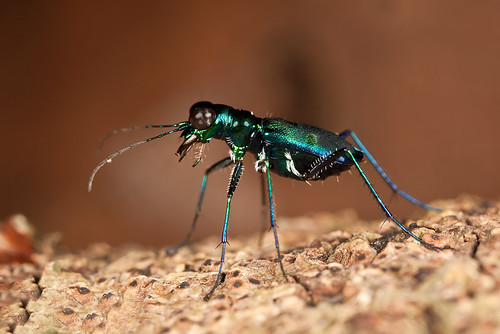
a dark/black BG will be produce as full flash use, so we could try to make leave behind the object as sample (different object but still a beetle on tree but with brown leaf behind as BG - hand make :D )
most easier tiger beetle

but then while we shift out angle a bit higher to make the tree body as BG
Weevil in Love -2

- this will be better in term of overall picture but then it is not easy to get both Weevil in focus due to the DOF limit. so even we move to upper but we still need to control the angle where both weevil eye can be in focus


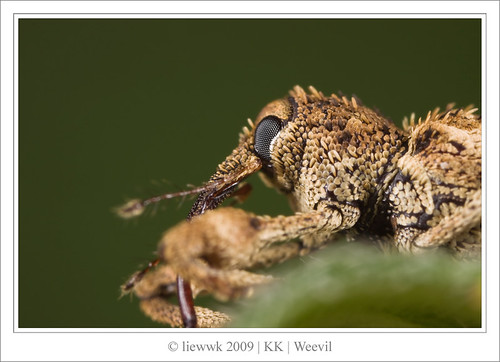
some add-on on the weevil, this weevil is small one and I shoot it with coin as comparison before as below

2.23 Weevil  .. this is really small weevil

and again we really should thanks MACRO photography to allow us to see something where we normally can't view through human eye

a big magnification of same type of Weevil
2.23 Weevil
Related Posts Plugin for WordPress, Blogger...