Monday, August 24, 2009

Landscape Spot 2 - Genting Highland

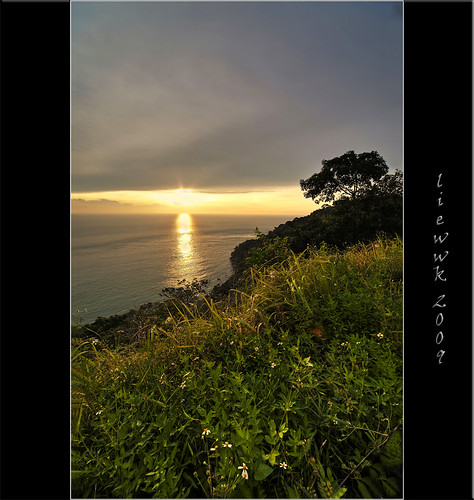
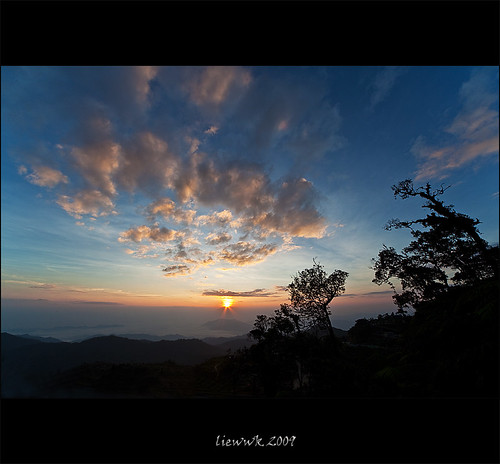
went above 1850m from sea level (aka call Genting Highland) from beautiful sunrise and manage to saw most beautiful sunrise ever

woke up 3:30am and drive from Kuala Lumpur and reach there ~6am for breakfast then start driving up to look for sunrise location (ohhhh ... yea we went there with compass and no experience) .... after repeat the same path we think we got the best direction for the day ... (a road path behind First World Hotel)

Direction
- from Kuala Lumpur look for Kepong or Batu Cave direction (~10-20minutes drive)
- then Genting Highland signboards are any where just follow (~60-100minutes drive)
- so back of First World Hotel is facing East :D


... so far ...

or
View On Black & Large

Tuesday, August 18, 2009

Landscape Spot 1 - Tanjung Tuan

I am slow recently, due to need to spend more time on family and work (aikssss preparing for exam now).... but I think it is good to start share some of the Landscape spots that I visit before I forget the details ...

This is going to be same as MACRO spot ... I will share some picture from the spot, how to be there, what need to be take note ... etc

Tanjung Tuan is located down south from Port Dickson Town, a popular beach destination for city folks. Also known as Cape Rachado, this place is essentially a coastal forest gazetted for a park for bird watching, especially for raptors, as well as being a tourist attraction (lighthouse at the peak). The forest is composed of both rainforest and mangrove swamps.

Direction
- Port Dickson, Negeri Sembilan
- from North-South Highway toward South (Singapore, Johor) Direction from Kuala Lumpur
- drive ~1hour to Port Dickson exist
- follow sign board, it will lead you to Port Dickson near a place call Teluk Kemang
- toward the end of the highway, you will reach a roundabout turn 9 o'clock
- follow the main road you will reach Hutan Rimba Tanjung Tuan Or "Tanjung Tuan Light House" ... this will take ~10-15minutes
- make right turn from the main road after see the signboard Hutan Rimba Tanjung Tuan
- will pass by Tanjung Biru (Blue Lagoon), Tajung Mirror....
- ~1km will reach Hutan Rimba Tanjung Tuan Entrance
- walk into the Hutan Rimab (reserve jungle) toward the end ~30-40minutes walk
- light house will be at the end
- it will be a down hill path which lead to sea side (will discover next visit)
- this post only share the view from the hill

Difficulty
- need to pass by a Hutan Rimba (reserve jungle)
- no drive up
- not really tough as it only need ~30-40minutes walk

Why
- this is located @west coast of MALAYSIA so sunset ... from hill
- people come here also for raptors .... but not me :D

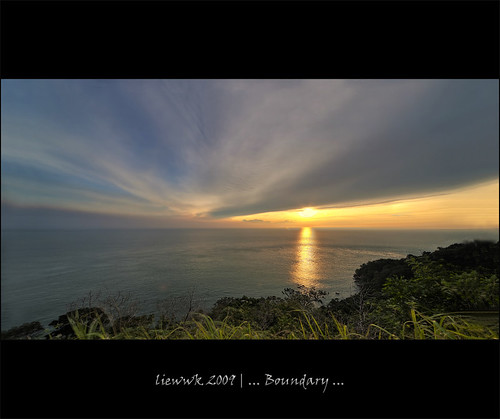
... Boundary ...

... golden moment ...


more pictures can view here

Friday, August 7, 2009

MACRO PP - How I Sharpen my Picture or Should I ?

This question have been ask by myself since I start photography, I know it going to improve the overall sharpness and it look better but if we fail to find the balance point, we could over do it or we call over sharpen.... so should I ?

I seldom do sharpen for my pictures before Jul 2009, even few occasions I did that just for some testing purpose or accident add the Unsharp Mask (USM) Sharpen by Ninja Noise (ohhh ... it is part of the task....) so normally I remove all USM while doing my ninja noise.

Then after I start my landscape photography, I found sharpen my picture is almost a must as it look really blur (it could be I shoot RAW but no RAW sharpen done). So I start apply sharpen as below method

1. USM
- while i start my sharpen, I start with USM
- but I worry to overdone it so I normally create additional layer for the USM and change the opacity if I feel it is over done

i. edit whatever you need to do before sharpen
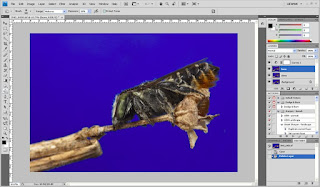


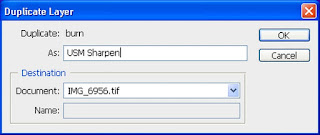
ii. duplicate additional layer
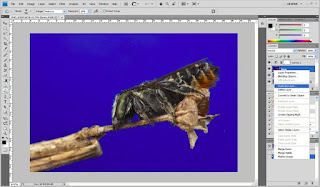


iii. go for USM
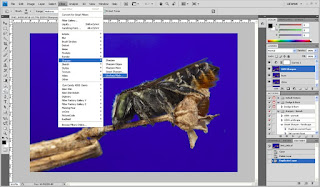

iv. normally I will apply 120, 0.5, 0 for my 5dm2 picture size
- this is very much depend what or how many you going to sharpen but no worry on over sharpen here as later stage we still can change it or softern it
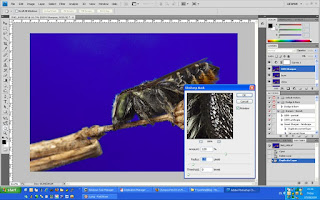

v. change the opacity of the USM sharpen layer, normally I use 20-50%

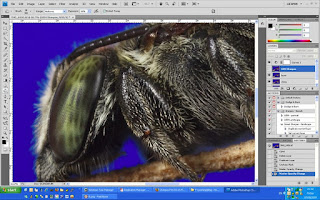
vi. sample sharpen and non sharpen

sharpen
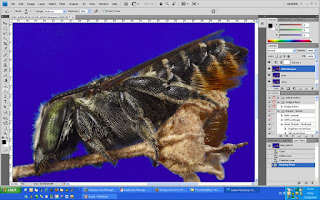

100% crop
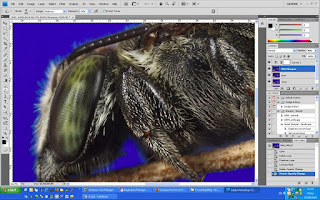


without sharpen


100% crop

vii. after resize, picture normally look softer so
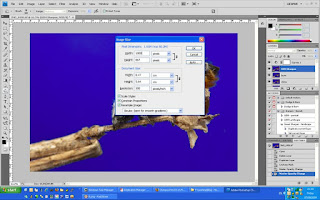

so I will increase the USM sharpen layer to higher opacity to get more sharp picture
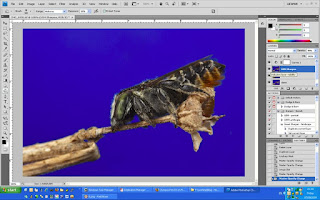


2. Smart Sharpen
- I learn this from "Juza photography", Juza is one of my favor natural photographer who really share how he shoot, pp ...
- I continue use the layer opacity method to avoid over sharpen too

i. duplicate a layer for "Smart Sharpen" purpose
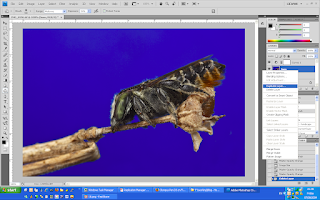


ii. go to filter - smart sharpen
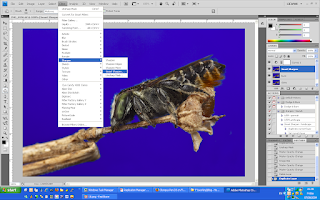

iii. depend how much you going to sharpen or your image size and again this could be change by the layer opacity
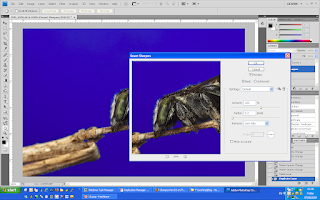

120, 0.2, Len Blur

iii. sharpen image and change opacity of the image so it is not over sharpen
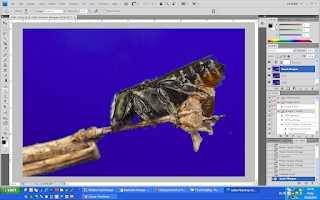

normally I apply 30-50% for full size of 5dm2 full size picture
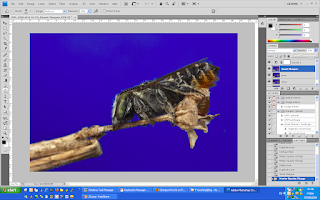

iv. sharpen and without sharpen picture on 100% crop
sharpen
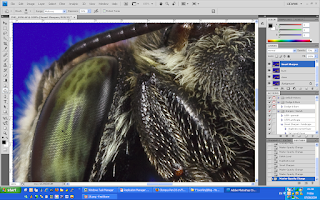

without sharpen
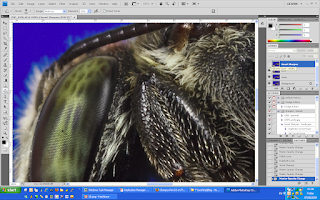

v. after resize, increase the opacity from 20-50% to 70-100% as the resize will soften the image
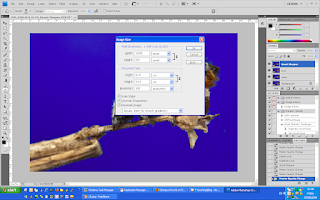


sorry for not really provide a good example here, the sharpen and without sharpen picture with very minimal different ... as rushing on this for a friend of my Derrick :D

but it is straight forward to have a try ... enjoy .....


Wednesday, August 5, 2009

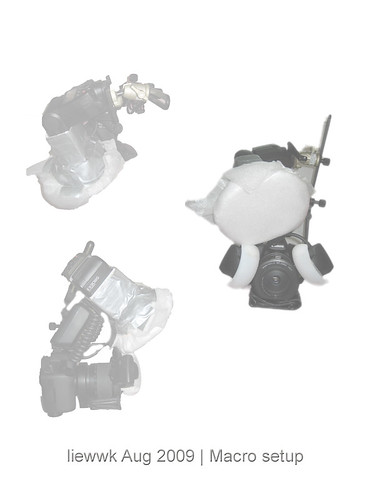
How I shoot MACRO - liewwk update macro setup - Aug 2009

2009 Aug macro setup

my update MACRO setup

- Canon 5dm2
- Canon MPE65
- SIGMA150 F2.8
- Kenko 1.4x tc
- SIGMA 2x tc
- Canon MT24 macro twin flash
- Canon Speedlite 580EX II
- Off-Camera Shoe Cord OC-E3
- Kirk Macro flash bracket
- Manfrotto 560B FLUID VIDEO MONOPOD W/HEAD
- velbon Neo 630 tripod

View On Black & Large

Friday, June 26, 2009

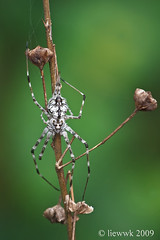
a spider shot that worth to share here ...

found this spider and think it worth to be share here ...

How do I make this shot ...

1. cut the stem using cutter
2. move it slowly to better BG
3. block the wind by 2 umbrella
4. setup tripod and shoot :D

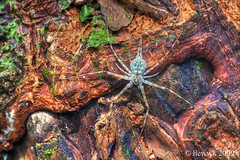
Tree trunk spider
4.20 Tree trunk spider ... re-PP...

4-5 days later I found this again at another reserve jungle (Hutan Lipur Sg Congkak @Ulu Langat) and it is not moving as previous so decide to have another HDR macro :D

4.20 Tree trunk spider ... HDR ...

Wednesday, June 3, 2009

MACRO PP : Focus Stack using Different Pictures

I am doing this ad-hoc (have plenty of topic are in the list). This is similar to another topic discuss in

http://liewwk-macro.blogspot.com/2009/01/how-i-increase-my-macro-picture-dof.html

in two situations as below

1. what if the bug move then how to apply the method apply above
2. a good composition pictures but not get main object focus... how ? delete it ?

so this topic help me to "rescue" above 2 problems

it is simple as step by step below
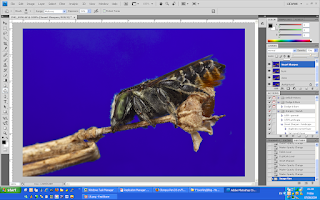
1. as this shoot when windy day + handheld + keep moving fly so the composition look ok but main object not focus as below


100% Zoom


2. I have a similar fly (similar angle is most important) shoot 1-2 weeks ago which got better eye focus but magnification are different


3. open the main composition picture as base


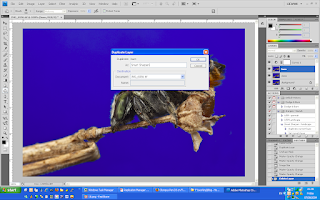
4. open the other "eye" picture and duplicate over the previous layer


then this layer will over write the main layer


5. set the opacity to 20-30%


then you will get this


look for "transform control" it different for CS3 & CS4 (this screen shot form CS4 and CS3 can get from "Edit" menu")


6. change the size of the picture if magnification different


-rotate it if the angle is not correct


7. adjust back opacity to 100%


8. add layer mask and make it invert


while invert of the layer mask, you will see


9. select a brush with "white" color by selection


10. zoom in to the eye


11. use smaller brush


12. brush out the area you interest , for this is head + eye


zoom out then you will see this


13. save the picture, let see the exif


14. easily verify by zoom 100%


so see the different ?

stack


original


some of you will say WOW, some will say "You Cheating" ....but this is rule of digital so we this is good to know :D

so have fun :D ...
Related Posts Plugin for WordPress, Blogger...